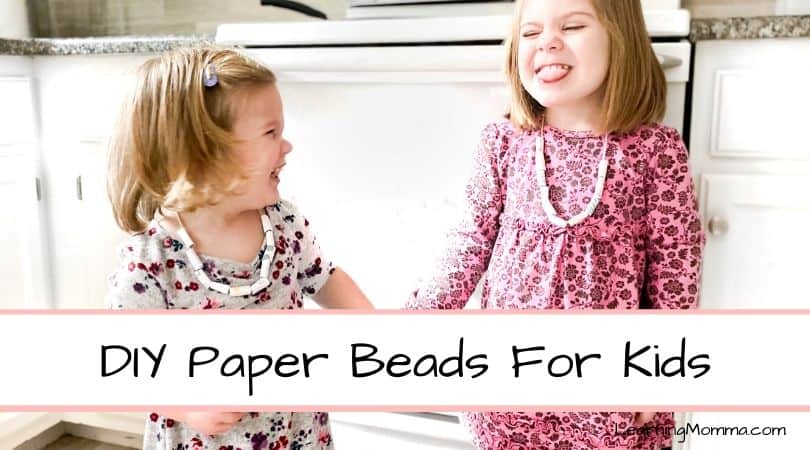
How To Make Paper Beads For Kids
It’s easy to run out of ideas to occupy kids or toddlers when they’re stuck at home. If your kids have played every board game, done every puzzle, completed every coloring book, and are bouncing off of the walls – some new crafts may be just the thing you need! Crafts help kids to stretch their brain with creativity, hone motor skills, and can often bring hours of fun. If you have young kids or toddlers who need a new activity, try these DIY paper beads using materials you probably already have laying around the house!
We have currently been shut in for almost 2 weeks due to the global pandemic. This last week the weather has been rainier and cooler so we haven’t been able to go for walks or play outside as much. My two toddlers have quickly gotten bored with their toys, media, coloring books, and playdough – so I’ve been trying to come up with some exciting new crafts and activities to fill our time!
Our oldest daughter enjoys beads (and both of our daughters adore jewelry). However, we are in the processing of moving, so most of our arts and crafts supplies, including beads, are packed away! That gave me the idea to have the girls create their own beads from paper this week so they could still enjoy making necklaces – and it was a big success!
In this post, I’m going to share with you step by step how we created beads and made necklaces from supplies that you probably have laying around the house. Even my 1 year old enjoyed participating!
Paper Beads Supplies:
First, below is a list of the supplies you will need to create your own paper beads for kids.
- A scissors
- White computer paper (we got about 10 beads out of each piece of paper)
- Crayons (or markers, colored pencils, etc.)
- Elmer’s Glue (Or Modge Podge)
- String
- Wax Paper (very helpful but not essential)
- A foam brush (very helpful but not essential)
Instructions For Paper Beads
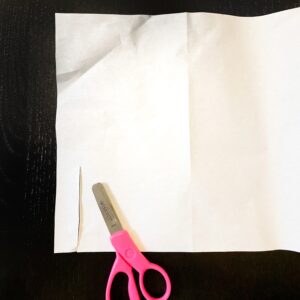
- Cut strips of paper about a half-inch thick from a landscape-oriented piece of computer paper. (We actually used a scrap piece of mail and an old printed coloring page we had laying around since only one side needs to be white.) Cut the strips the entire height of the paper when it is landscape-oriented. The strips do not need to be measured precisely.
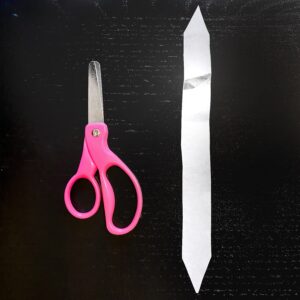
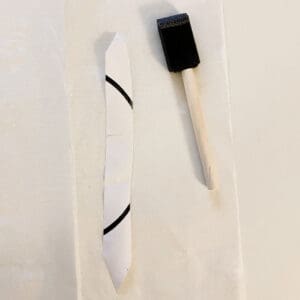
- After you’ve cut your strips, clip one end of each strip into a point like an arrow. (I clipped both ends like an arrow but it actually ended up making them harder to role later on. I recommend just clipping one end of each strip.)
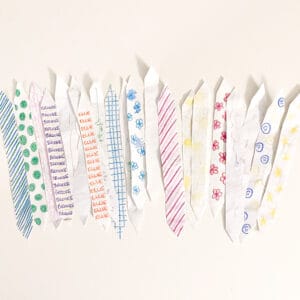
- After a strip is cut it’s ready to be colored! My 1 and 3-year-olds enjoyed scribbling all over them with crayons (and of course I colored some too!) Just one white side of each strip needs to be colored. (Below is a picture of our decorated strips.) You can get creative with this part depending on the age of your children!
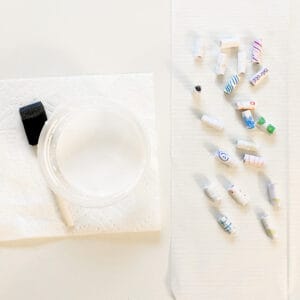
- Once all of your strips are colored they are ready to be glued and rolled! I placed a piece of wax paper on the table to allow me to brush the glue on more easily. If you don’t have Modge Podge to use create a copycat mixture by mixing Elmer’s glue with water according to these ratios. (That’s what we did!) Then, for each strip, place it with the colored side down and brush on a good coating of Modge Podge or the glue mixture. After you’ve brushed the glue on, roll each strip into a bead starting with the non-arrow shaped end. Lay each one aside on a separate clean piece of wax paper.
- Once you’ve rolled all of your beads, take your Modge Podge or glue mixture and brush a thick coating over the outside of each bead. (I did this part during naptime. If you have younger toddlers it might be a good idea to do this part yourself as it does get a bit messy!)
- Let the beads dry until they are not wet or tacky to touch (ours took overnight).
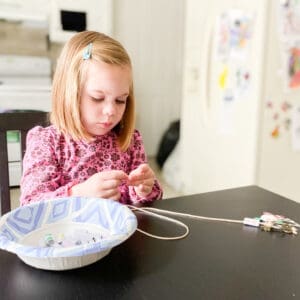
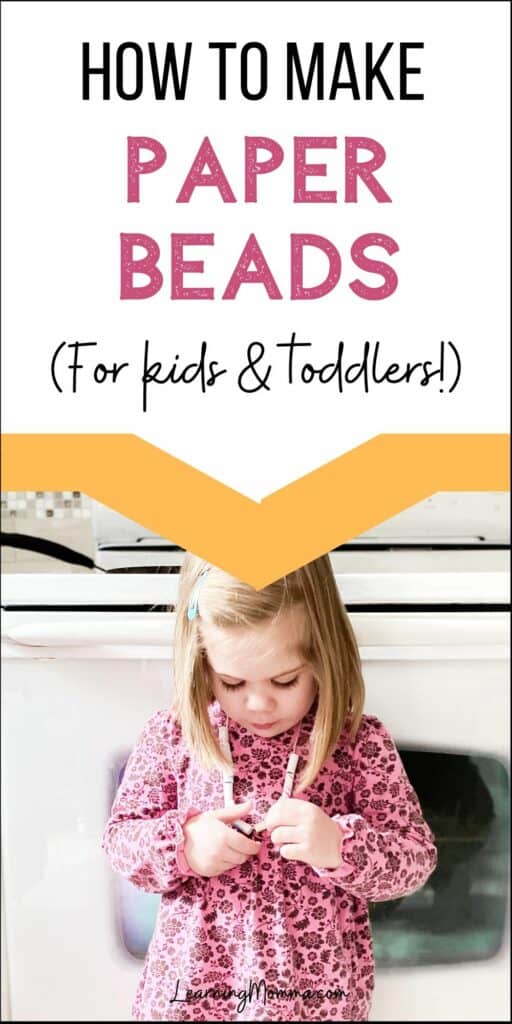
- The beads are ready to be strung! I tied a toy to one end and wrapped a bit of scotch tape around the other end of our 3-year-old’s string to help her string the beads more easily and keep them from falling off of the other end! She happily threaded the beads to make a necklace for herself and her little sister – and then proceeded to wear it all morning. (She put 10 beads onto each necklace.)
If you’re looking for new ideas to foster some creativity for your kids at home, I hope that these instructions help! Creating the beads and stringing them into necklaces filled two of our mornings this week – and the girls were so thrilled to flaunt the finished products that they had to wear dresses this morning and make paper crowns as well for a fully polished princess look!
Whether you’re stuck at home and desperate for something new to do or just have kids that love arts and crafts, making paper beads requires minimal supplies and is fun for kids of all ages!
If you want even more fun activities for your toddlers to do at home, make sure you also check out my free printable alphabet coloring pages, my homemade playdough recipe, and my free printable toddler flashcards (that also make a great memory game!).
–